Managing Proposals
1. Creating A New Proposal
Step 1: Navigate to the Projects Screen
Using the left sidebar, select Projects to open the Project Management page. Proposals are created and managed from this same screen.
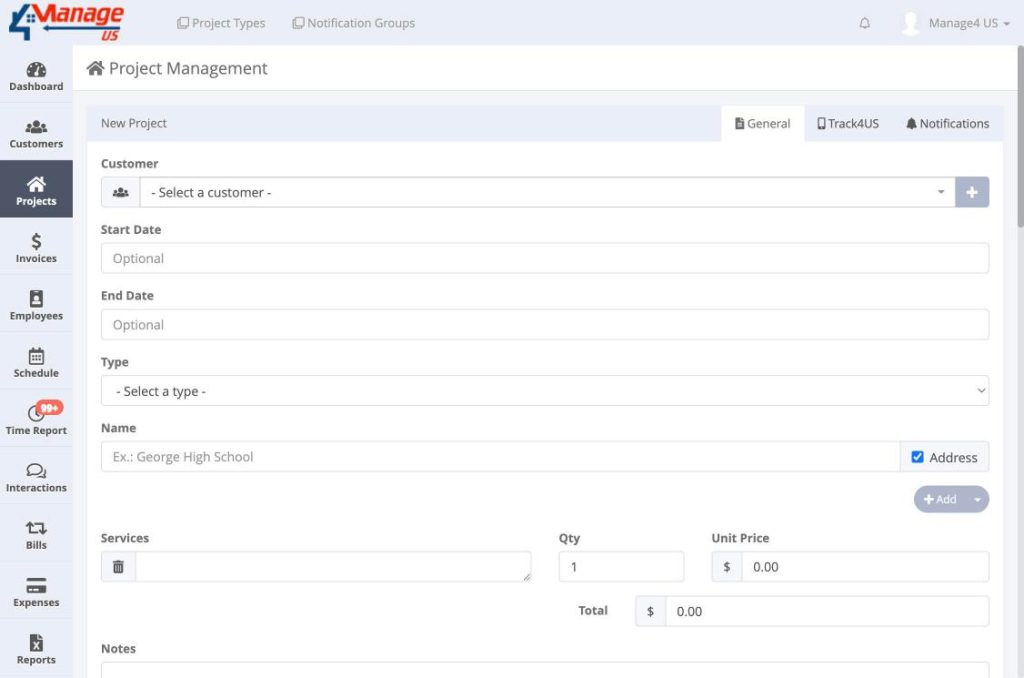
Step 2: Fill In The New Project Form
At the top of the Projects page you will find the New Project form. To create a Proposal, complete the following fields:
- Customer (Required) – Select an existing customer from the dropdown. The customer must already be registered in the system. Error if missing: “The Customer field is required.”
- Type (Required) – Select Proposal from the Type dropdown. Error if missing: “Select a project type.”
- Name (Required) – Enter the proposal name or job site address. Error if missing: “The Name field is required.”
- Services (Required) – Add at least one service line with a Description. Error if missing: “Service with missing description.”
- Total (Required) – The total must have a value. It can be $0.00, but cannot be blank. Error if missing: “The Total field is required.”
- Start Date / End Date (Optional) – Optional fields mainly used for the dashboard calendar view.
Step 3: Understanding the Name / Address Field
By default, the system treats the proposal name as a job site address — common for construction projects. If the proposal is not address-based, uncheck the Address checkbox next to the Name field and enter any custom name.
Step 4: Adding Services
In the Services section, each line requires a Description, a Qty, and a Unit Price. At least one service is required. To save time, click the dropdown arrow next to the + Add button and select My Services to open the Manage Services modal — select pre-saved services and they will be automatically inserted.
Step 5: Save the Proposal
Once all required fields are filled in, click the Create button. The proposal will be saved and appear in the Proposals list at the bottom of the Projects page.
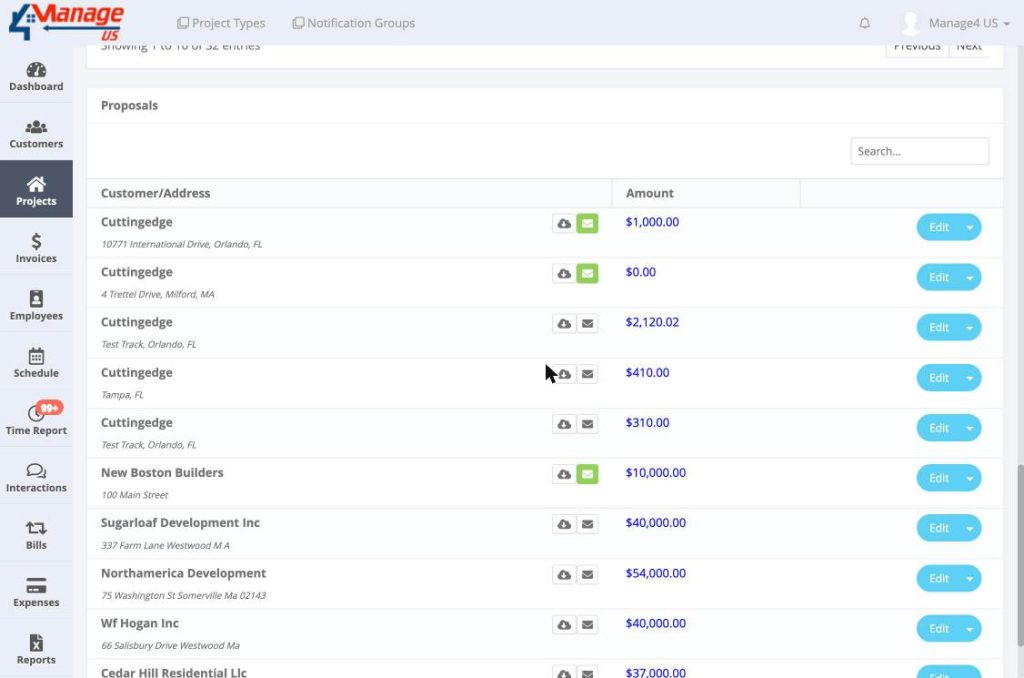
2. Finding Existing Proposals
Proposals appear in their own Proposals section below the Projects list. The list includes a Search box, Customer/Address and Amount columns, and per-row actions: Download PDF, Email, and Edit.
3. Updating An Existing Proposal
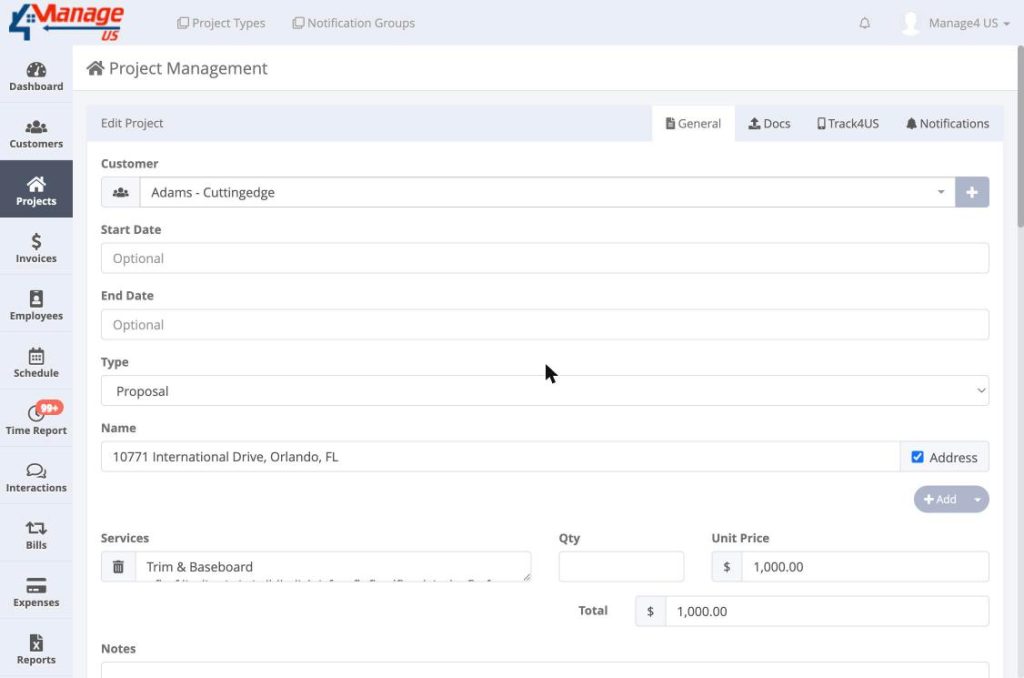
Step 1: Open Edit Mode
In the Proposals list, click the Edit button on the proposal row. The form will open with the current data pre-filled.
Step 2: Make Your Changes
Update any fields as needed — customer, name, services, pricing, dates, or notes. The same required fields from creation apply: Customer, Type, Name, at least one Service with a Description, and a non-blank Total.
Step 3: Save or Delete
Click Save to persist your changes. A Delete button is also available to permanently remove the proposal. There is no “Close” button — closing a proposal is done by converting it to a Project (see Section 4).
4. Converting a Proposal Into a Project
When a customer accepts a proposal, convert it into a schedulable Project from the edit form:
- Open the proposal by clicking Edit in the Proposals list.
- Change the Type field from Proposal to Project.
- Click Save.
- After the page refreshes, the record disappears from the Proposals list and appears in the Projects list — it is now schedulable.
Important: Proposals cannot be used for Scheduling. You must convert a Proposal to a Project type before it can be assigned to the Schedule.
5. Emailing a Proposal to Your Customer
In the Proposals list, click the email icon (envelope) beside a proposal to open the Send Proposal by email modal. You can confirm or change the recipient, add extra comma-separated email addresses, write an optional message, attach a document, and choose whether to send a copy to yourself (BCC). Then click Send.
6. Downloading a Proposal as PDF
Click the download icon (cloud with arrow) beside any proposal in the list to generate and download its PDF. This is the same PDF that is sent when using the email feature.