Managing Invoices
1. Invoice Types
The Invoices section supports two types of invoices, each serving a different purpose:
- Stand Alone Invoice — An invoice that has no link to a Project. Useful for simple, one-off charges.
- Project Based Invoice — Must be linked to an open Project. This is the recommended approach for tracking project payments, so you can always see how much the customer has paid versus what is owed.
2. Creating a New Invoice
Use the New Invoice panel on the left side of the Invoices screen. Select either Project Based or Stand Alone using the toggle at the top of the form.
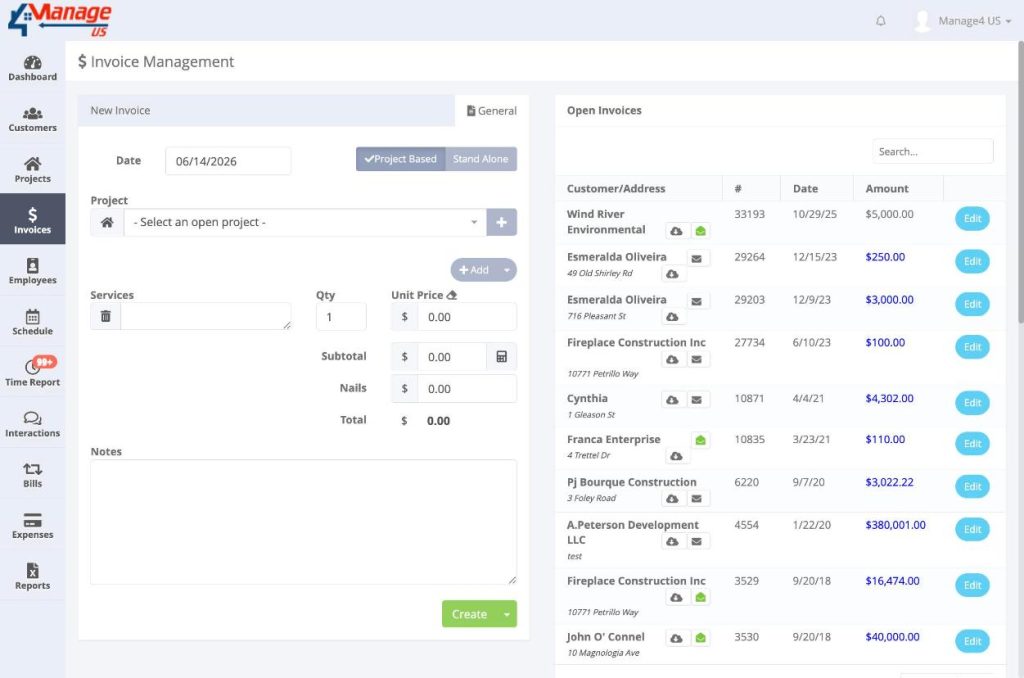
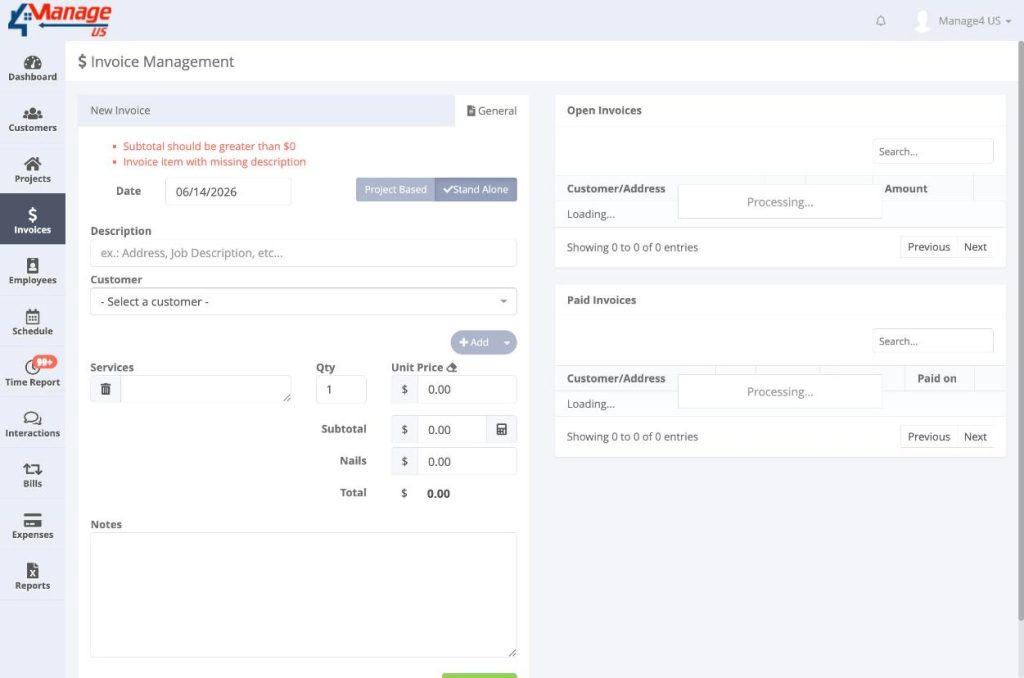
The following fields are required — the system will show a validation error if they are missing or invalid:
- Date — Required on all invoices.
- Subtotal — Must be greater than $0. An error is shown if the subtotal is zero.
- At least one Service line with a Description — An error is shown if a service line has no description.
Project Based Invoice
When creating a Project Based invoice:
- You must select an open project from the Project dropdown.
- The system automatically pulls in all services from the project along with their prices.
- You can update the Subtotal to any amount — this is common when a project will be paid across multiple invoices.
- Use the eraser icon next to Unit Price to clear a price (helpful when you don’t want to itemize individual line prices).
- You can add or remove service lines freely after the initial load. There is no ongoing live relationship between the invoice and the project’s services beyond that first load.
Stand Alone Invoice
A Stand Alone invoice requires a Description and a Customer selection. There is no project link.
3. Service Lines
Each invoice has one or more service lines. To add lines, use the Add dropdown in the Services section — you can add 1, 2, or 3 lines at a time.
Each line contributes to the invoice total as follows:
- Unit Price — The price per service line.
- Subtotal — The sum of all service lines.
- Nails — This is the Extra amount field. The label “Nails” is specific to this account, but the word can be changed in Company Settings.
- Total — Calculated as the Subtotal plus the Nails (Extra) amount.
4. Open and Paid Invoices
The right side of the Invoices screen displays two separate lists:
- Open Invoices — Invoices that have not yet been marked as paid.
- Paid Invoices — Invoices that have been marked as paid. This list includes a Paid on column showing the payment date.
From either list you can:
- Email an invoice — Opens a “Send by email” modal with an optional message, an optional document attachment (documents are configured in Company Settings), and a “Send a copy to me” checkbox (checked by default).
- Download the invoice as a PDF.
- Edit the invoice.
Note: On Project Based invoices, the Amount column shows as a clickable link. Clicking it opens the List of Invoices modal for that project, showing all invoices tied to it. On Stand Alone invoices, the amount appears as plain text.
5. Marking an Invoice as Paid
To mark an invoice as paid, open the Edit Invoice screen and:
- Enter the Paid On date.
- Optionally enter the Pmt. Check #s.
- Click Save.
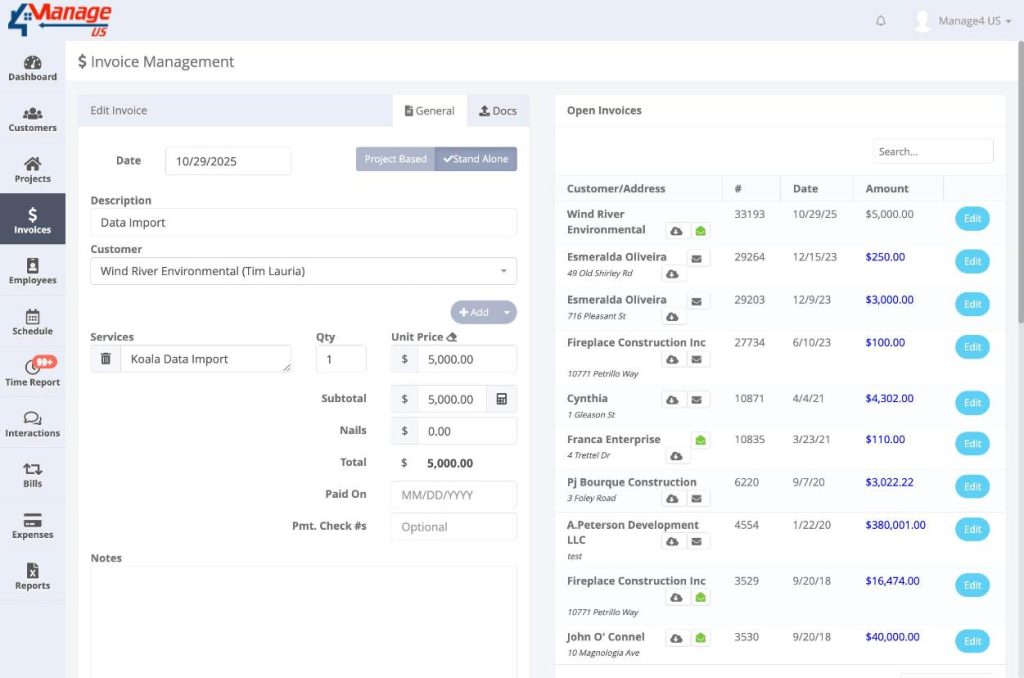
6. Attaching Documents to an Invoice
Each invoice has a Docs tab on the Edit Invoice screen. From here you can upload files or take photos and attach them directly to the invoice — for example, a photo of a customer’s check as proof of payment.